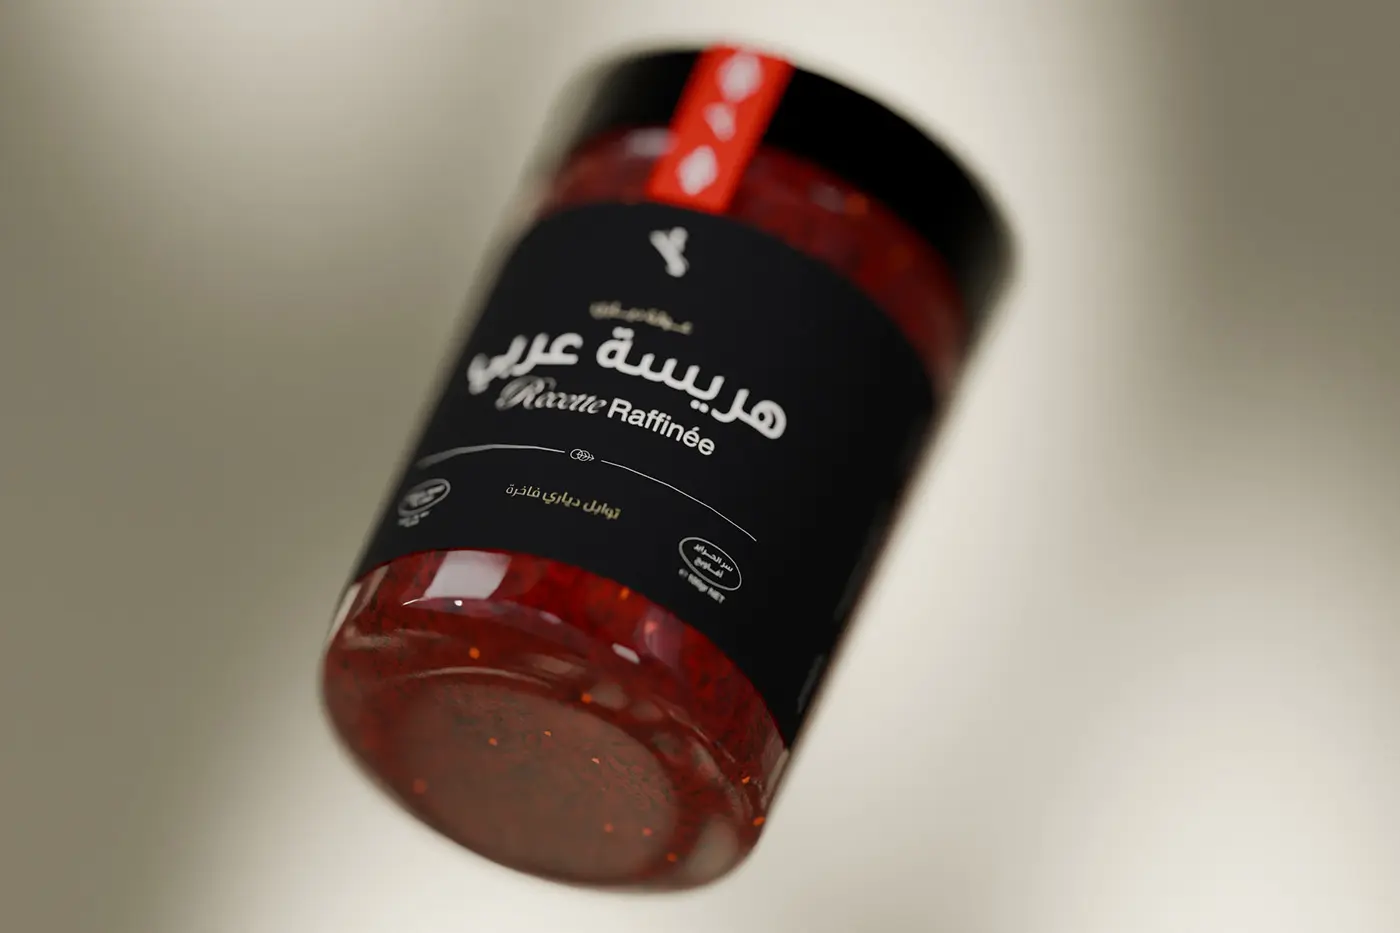
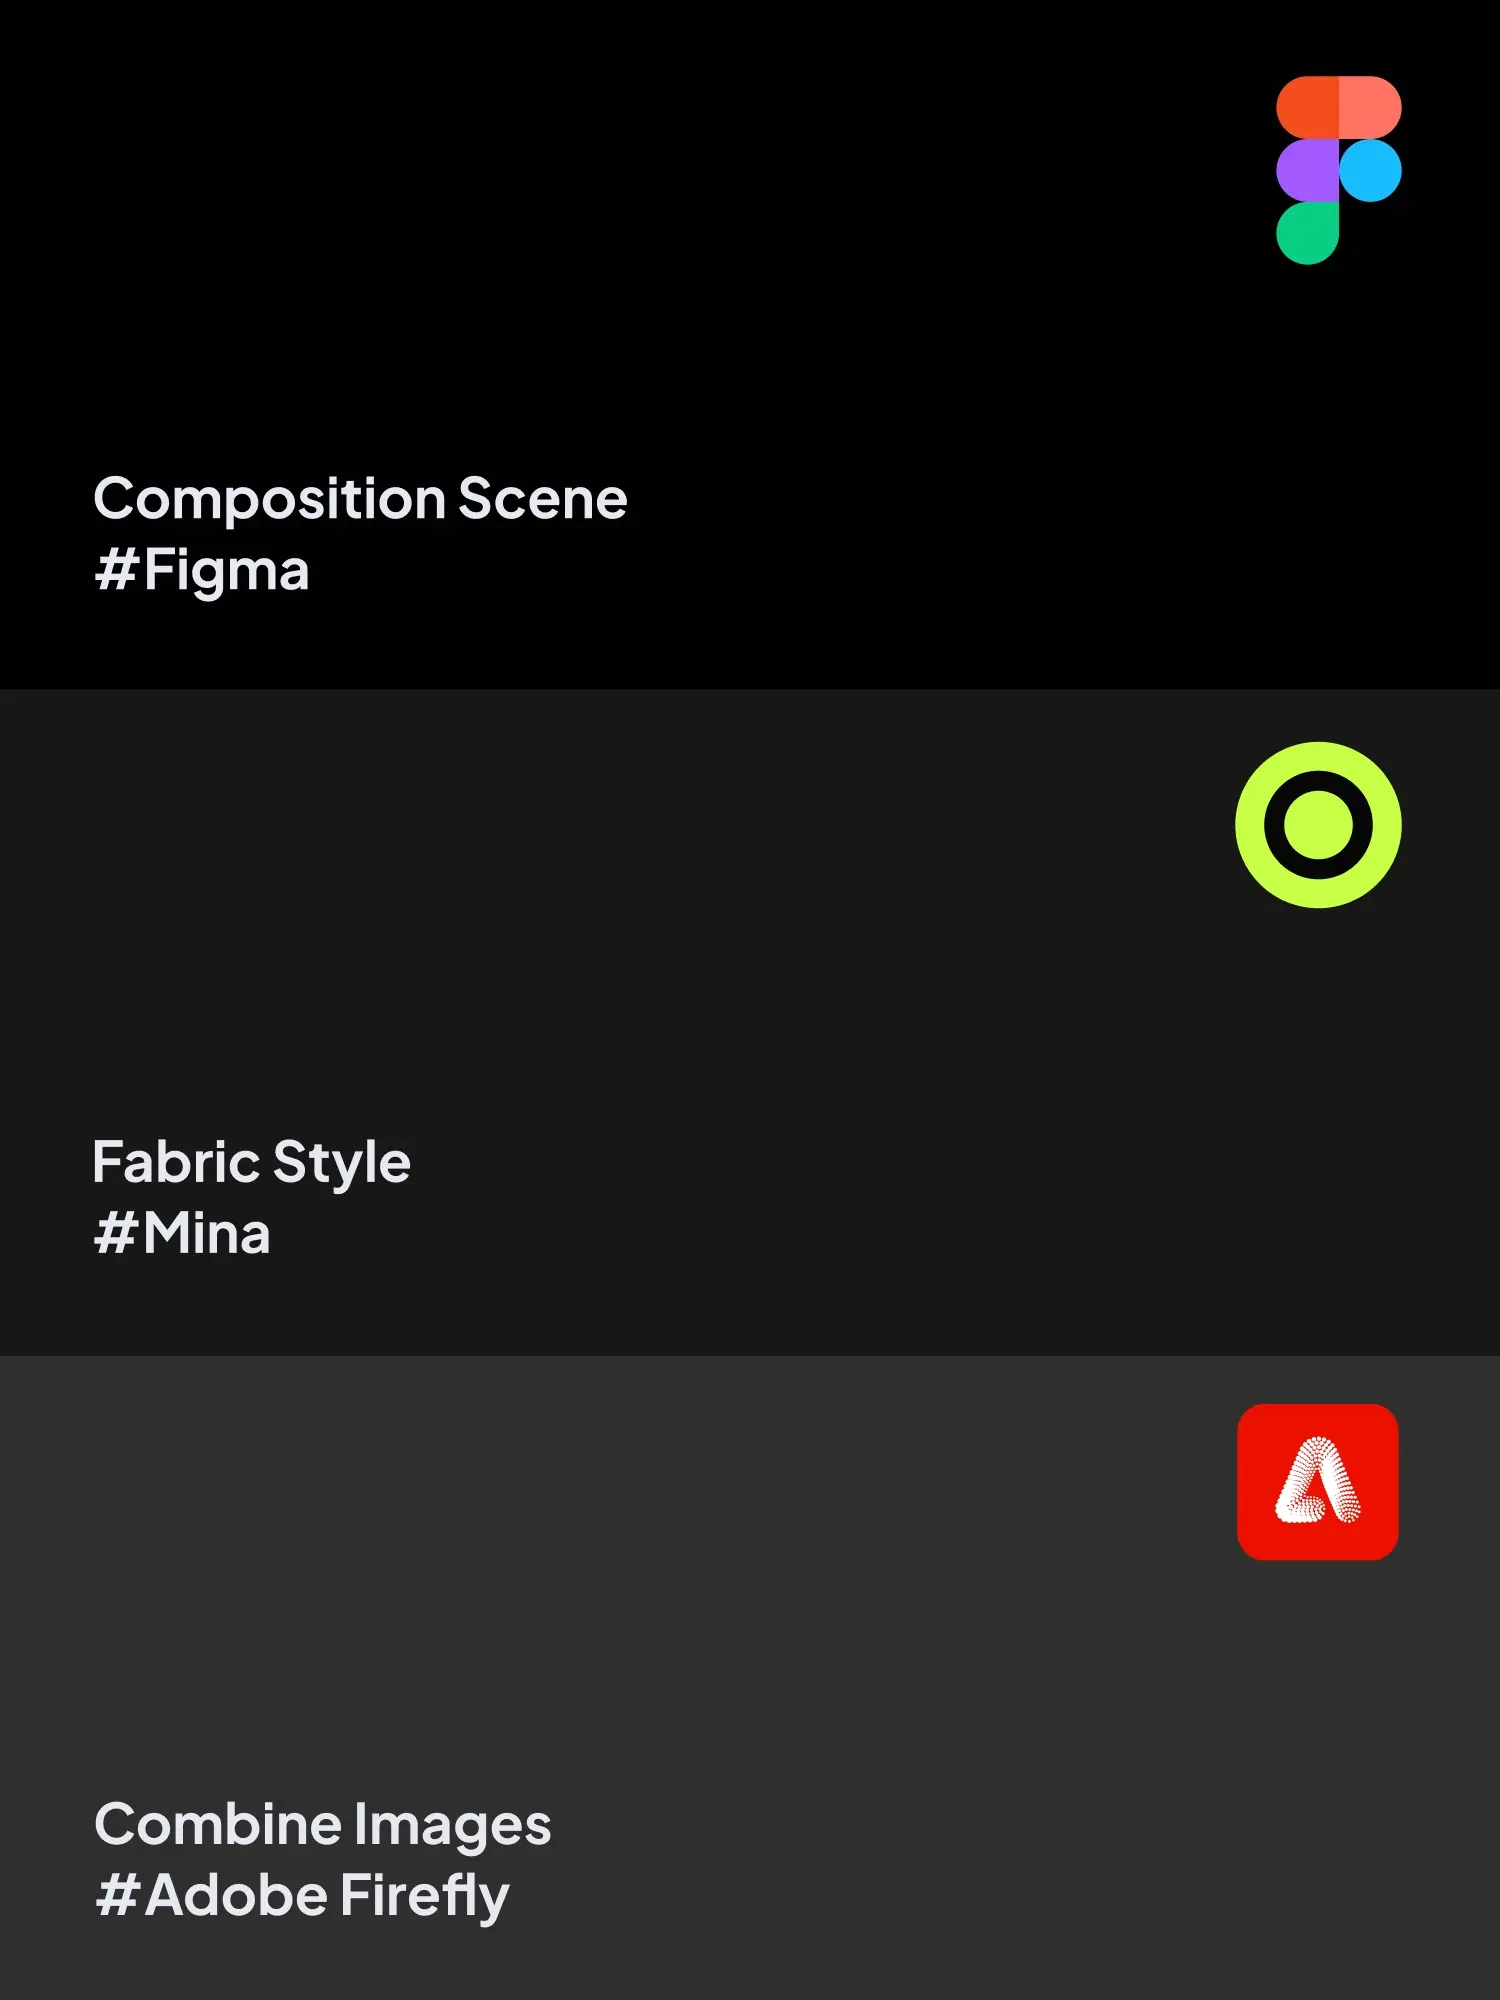
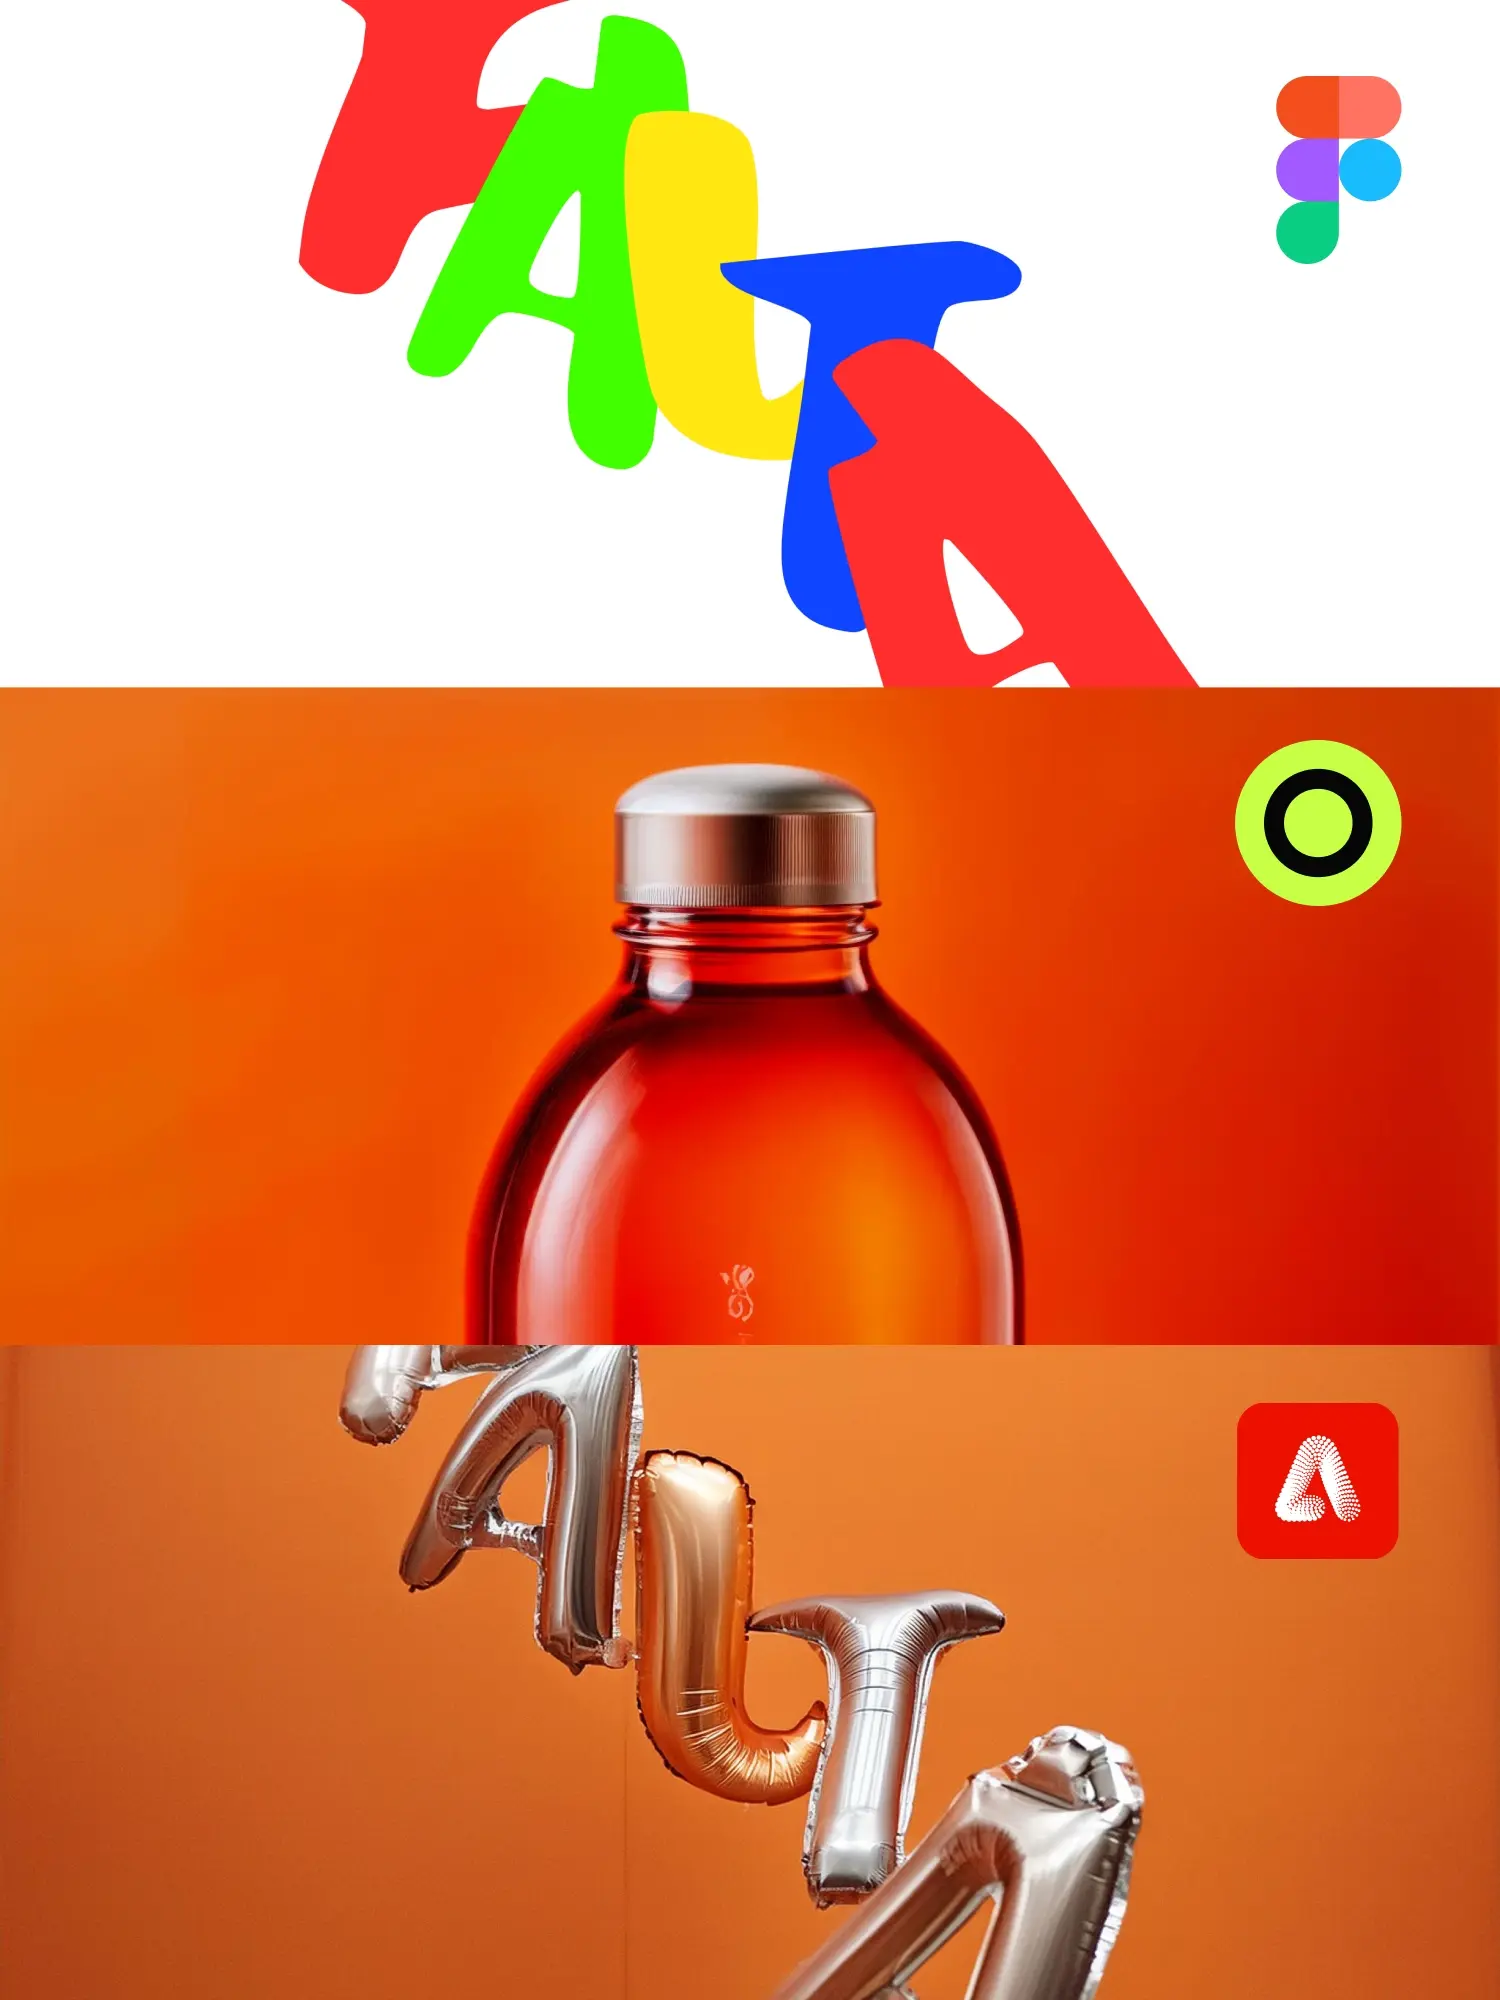
Step 1: Designing the Composition Scene Create the Design File: Open Figma and create a new design file with an artboard of 2000×2000 pixels. Choose Vibrant Colors: Pick some vibrant colors and set them aside. Color and Logo Placement: Color within the lines for a close-up shot of a cap, then drag and drop the Falta Studio logo onto the cap. Use a skew Figma plugin to adjust it. Write a Description Prompt: Use this prompt formula: Camera angle + visual description + important keywords + colors + lighting. Example: ‘A close-up shot of an embroidered logo, the black logo stitched onto the fabric of a bright orange hat, fabric texture, studio, matte light on a pastel blue background.’
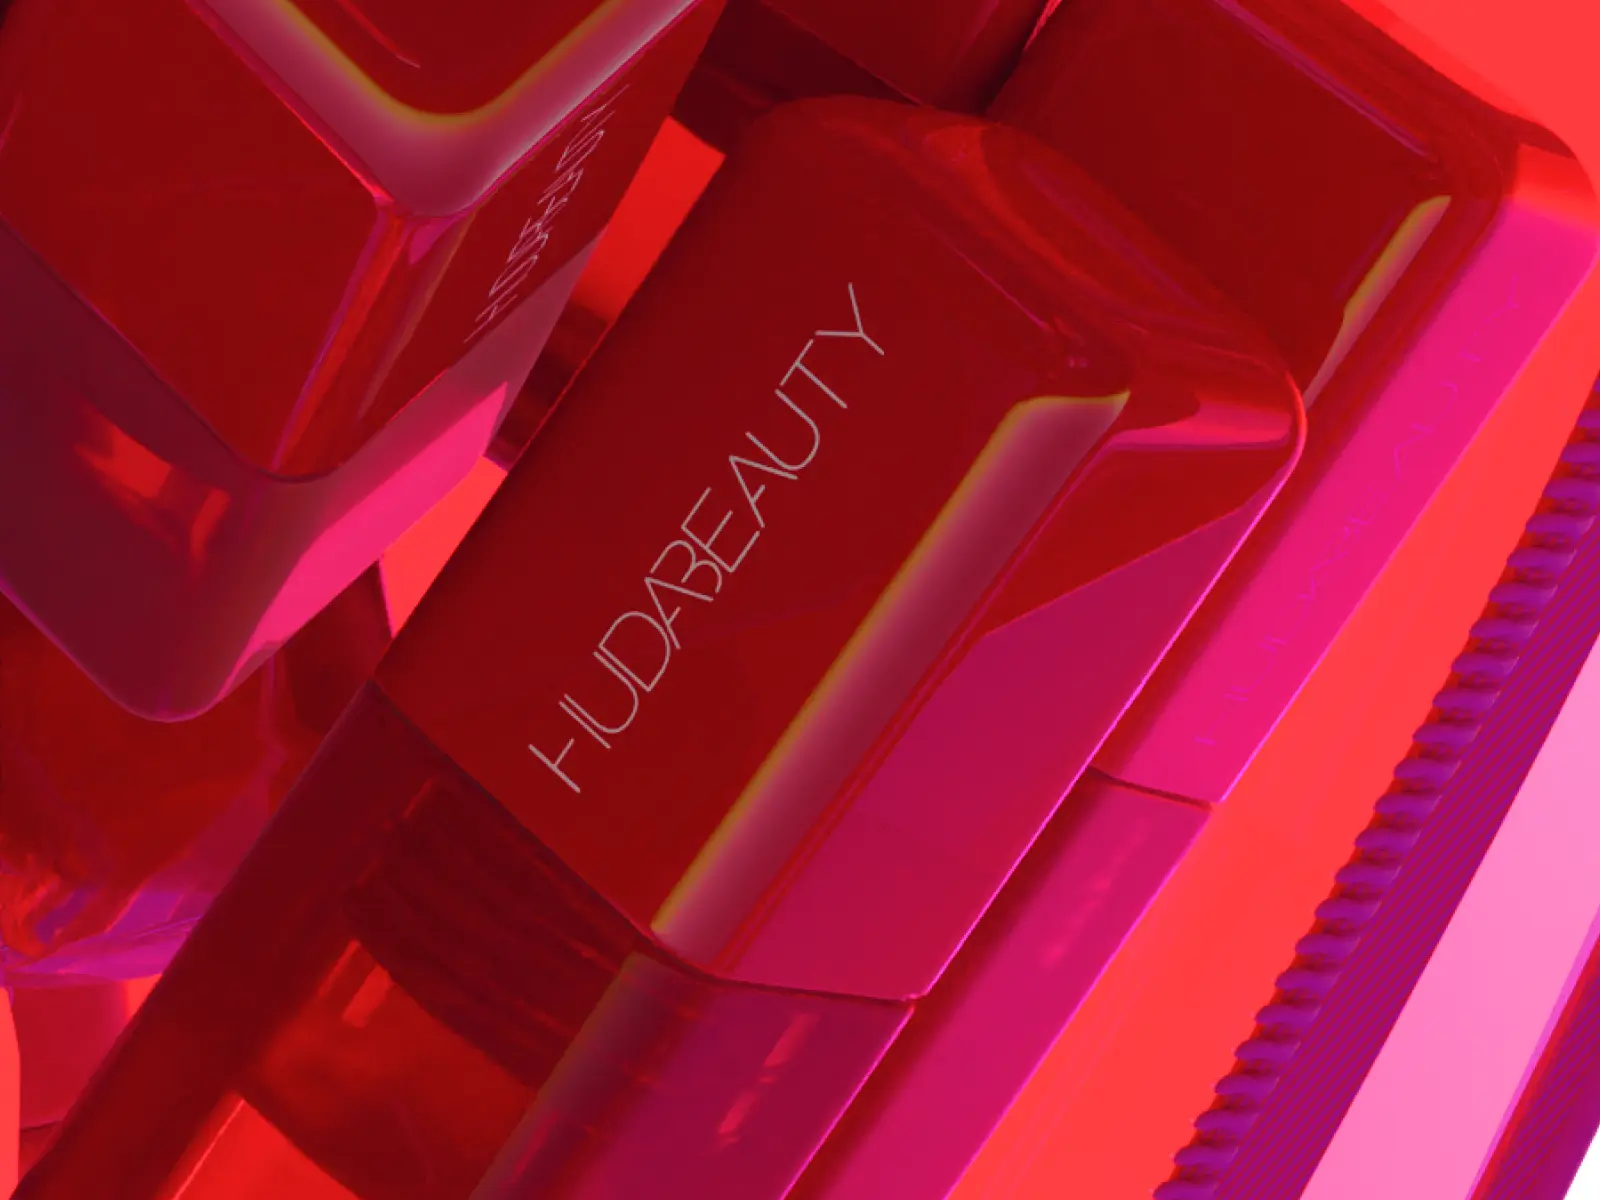
Step 2: Nailing the Style Find Texture Style: Use generative AI like Midjourney or Dall-E, or trust MINA the AI designer. Using MINA: Check ‘hyper-realistic’ and type the prompt: ‘Close-up shot of an embroidered line on an orange background.’ Generate the image for the style needed.
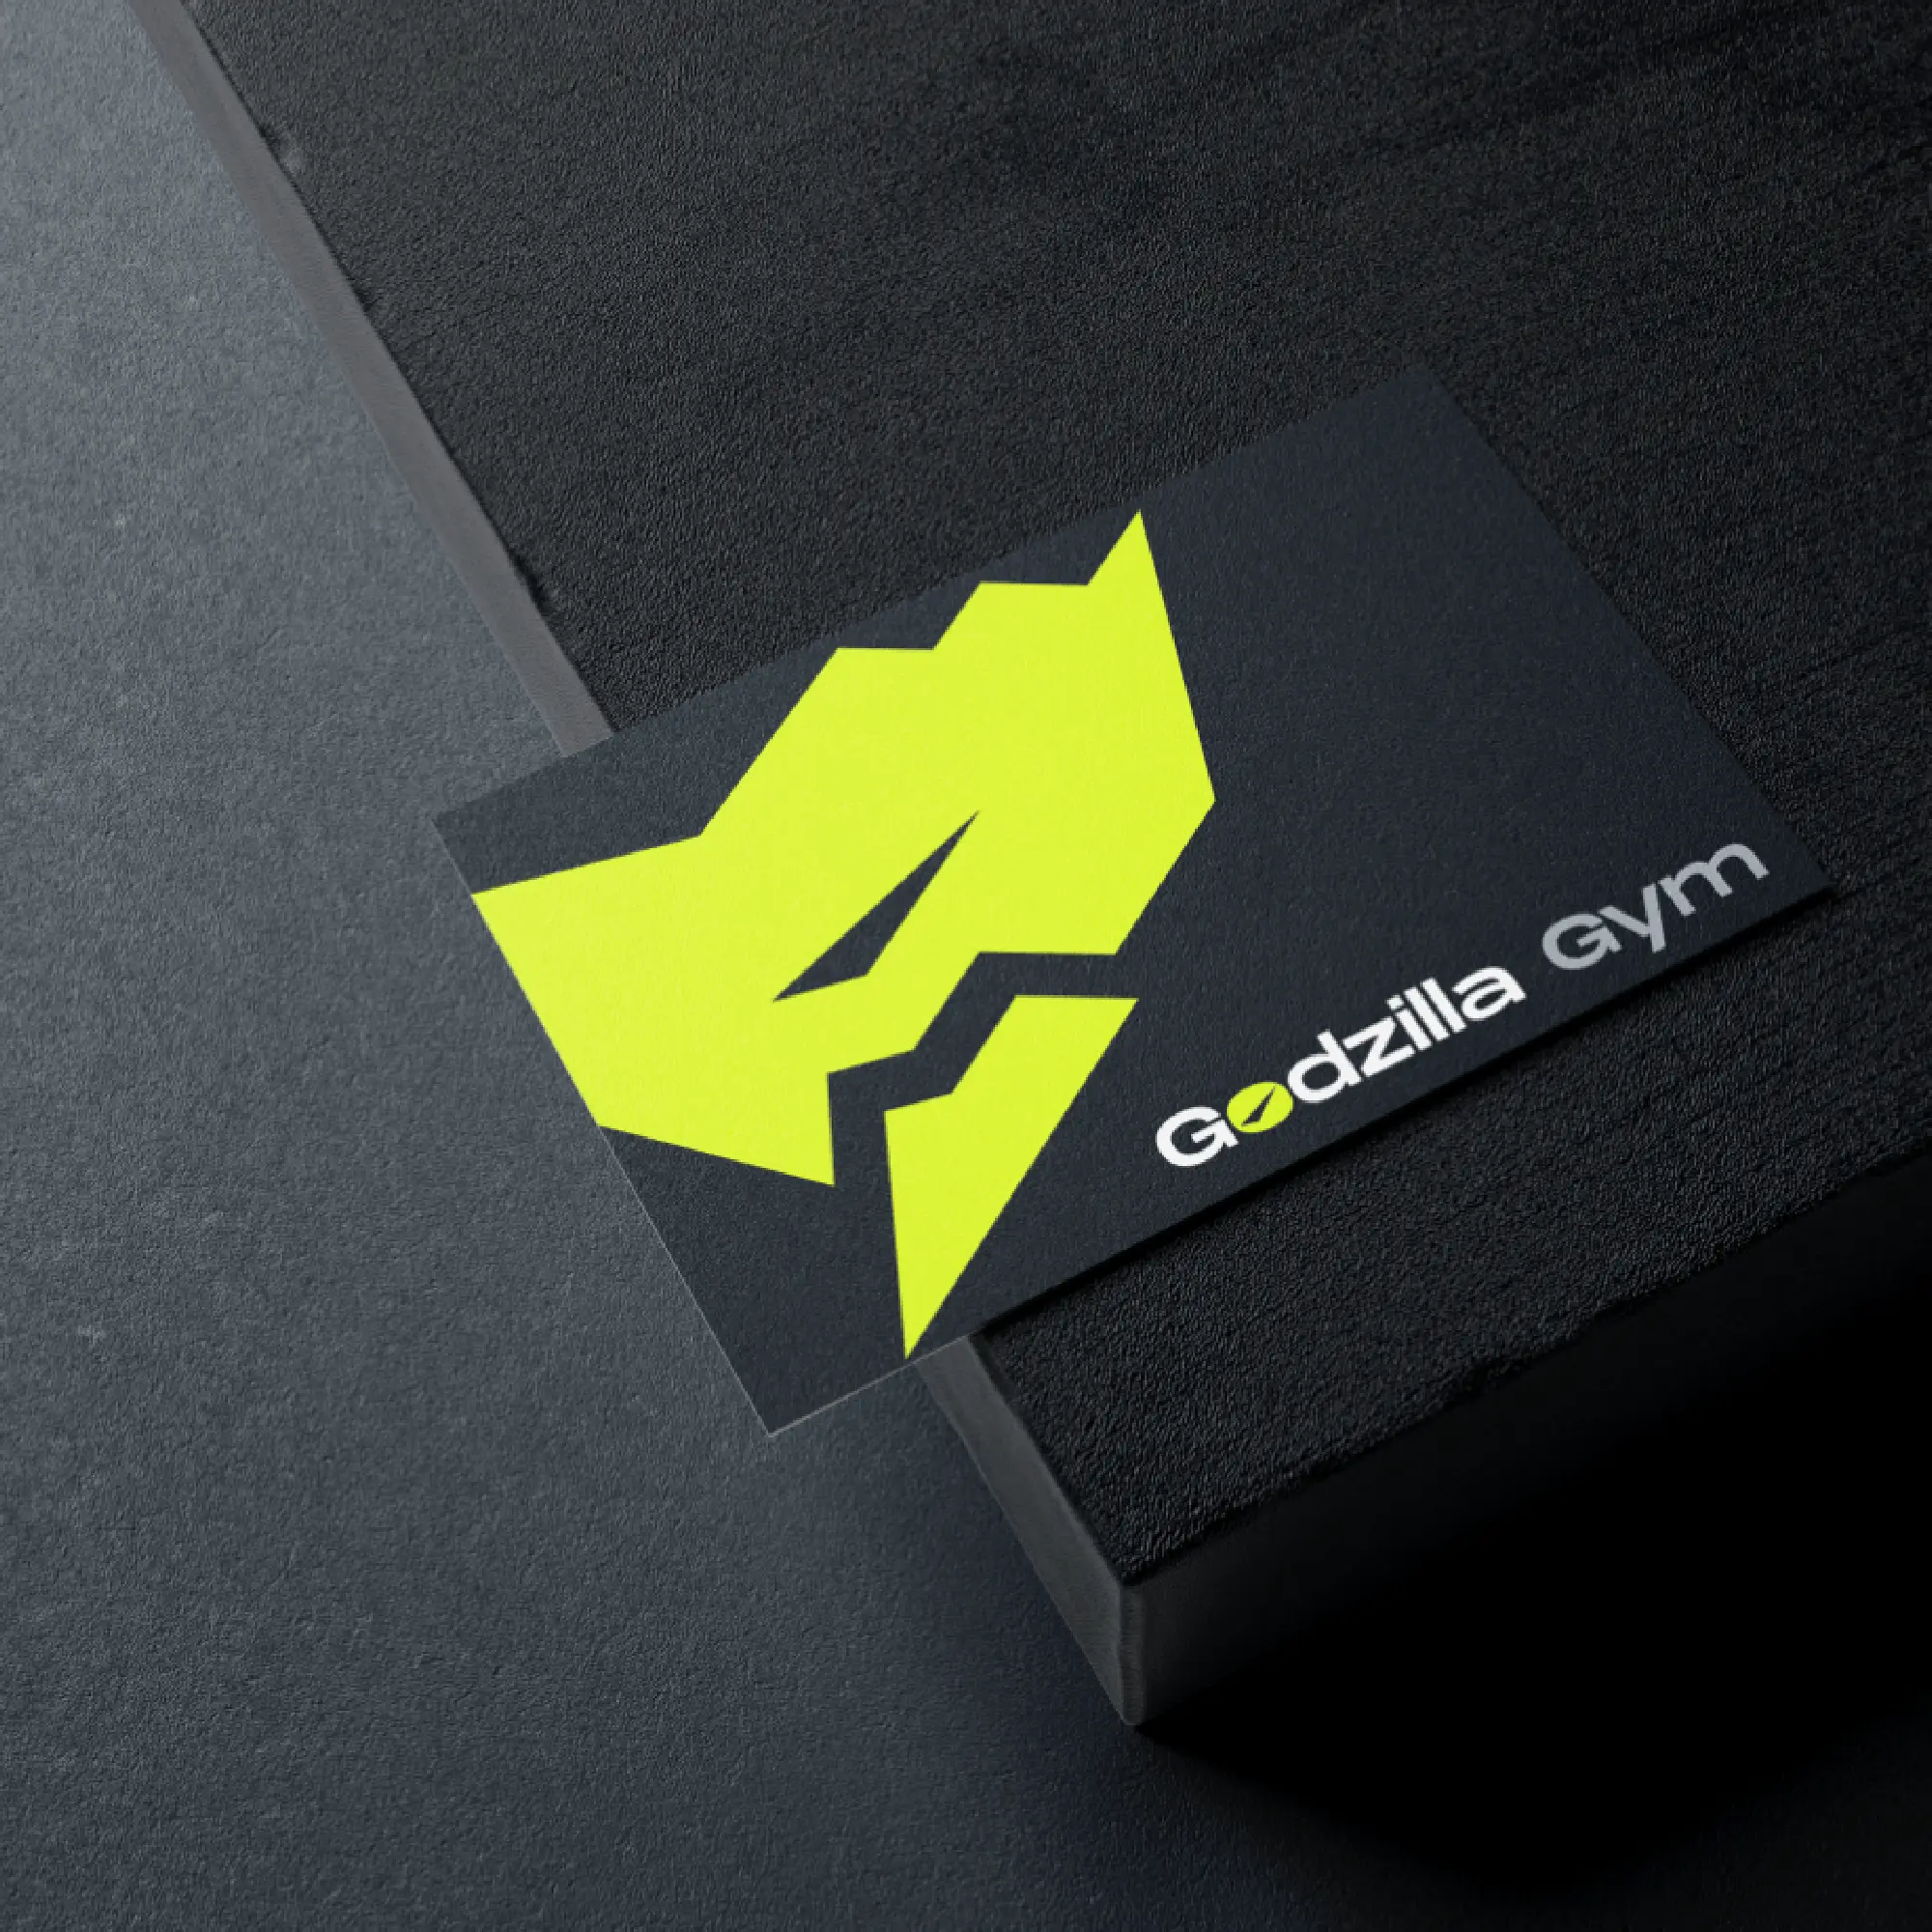
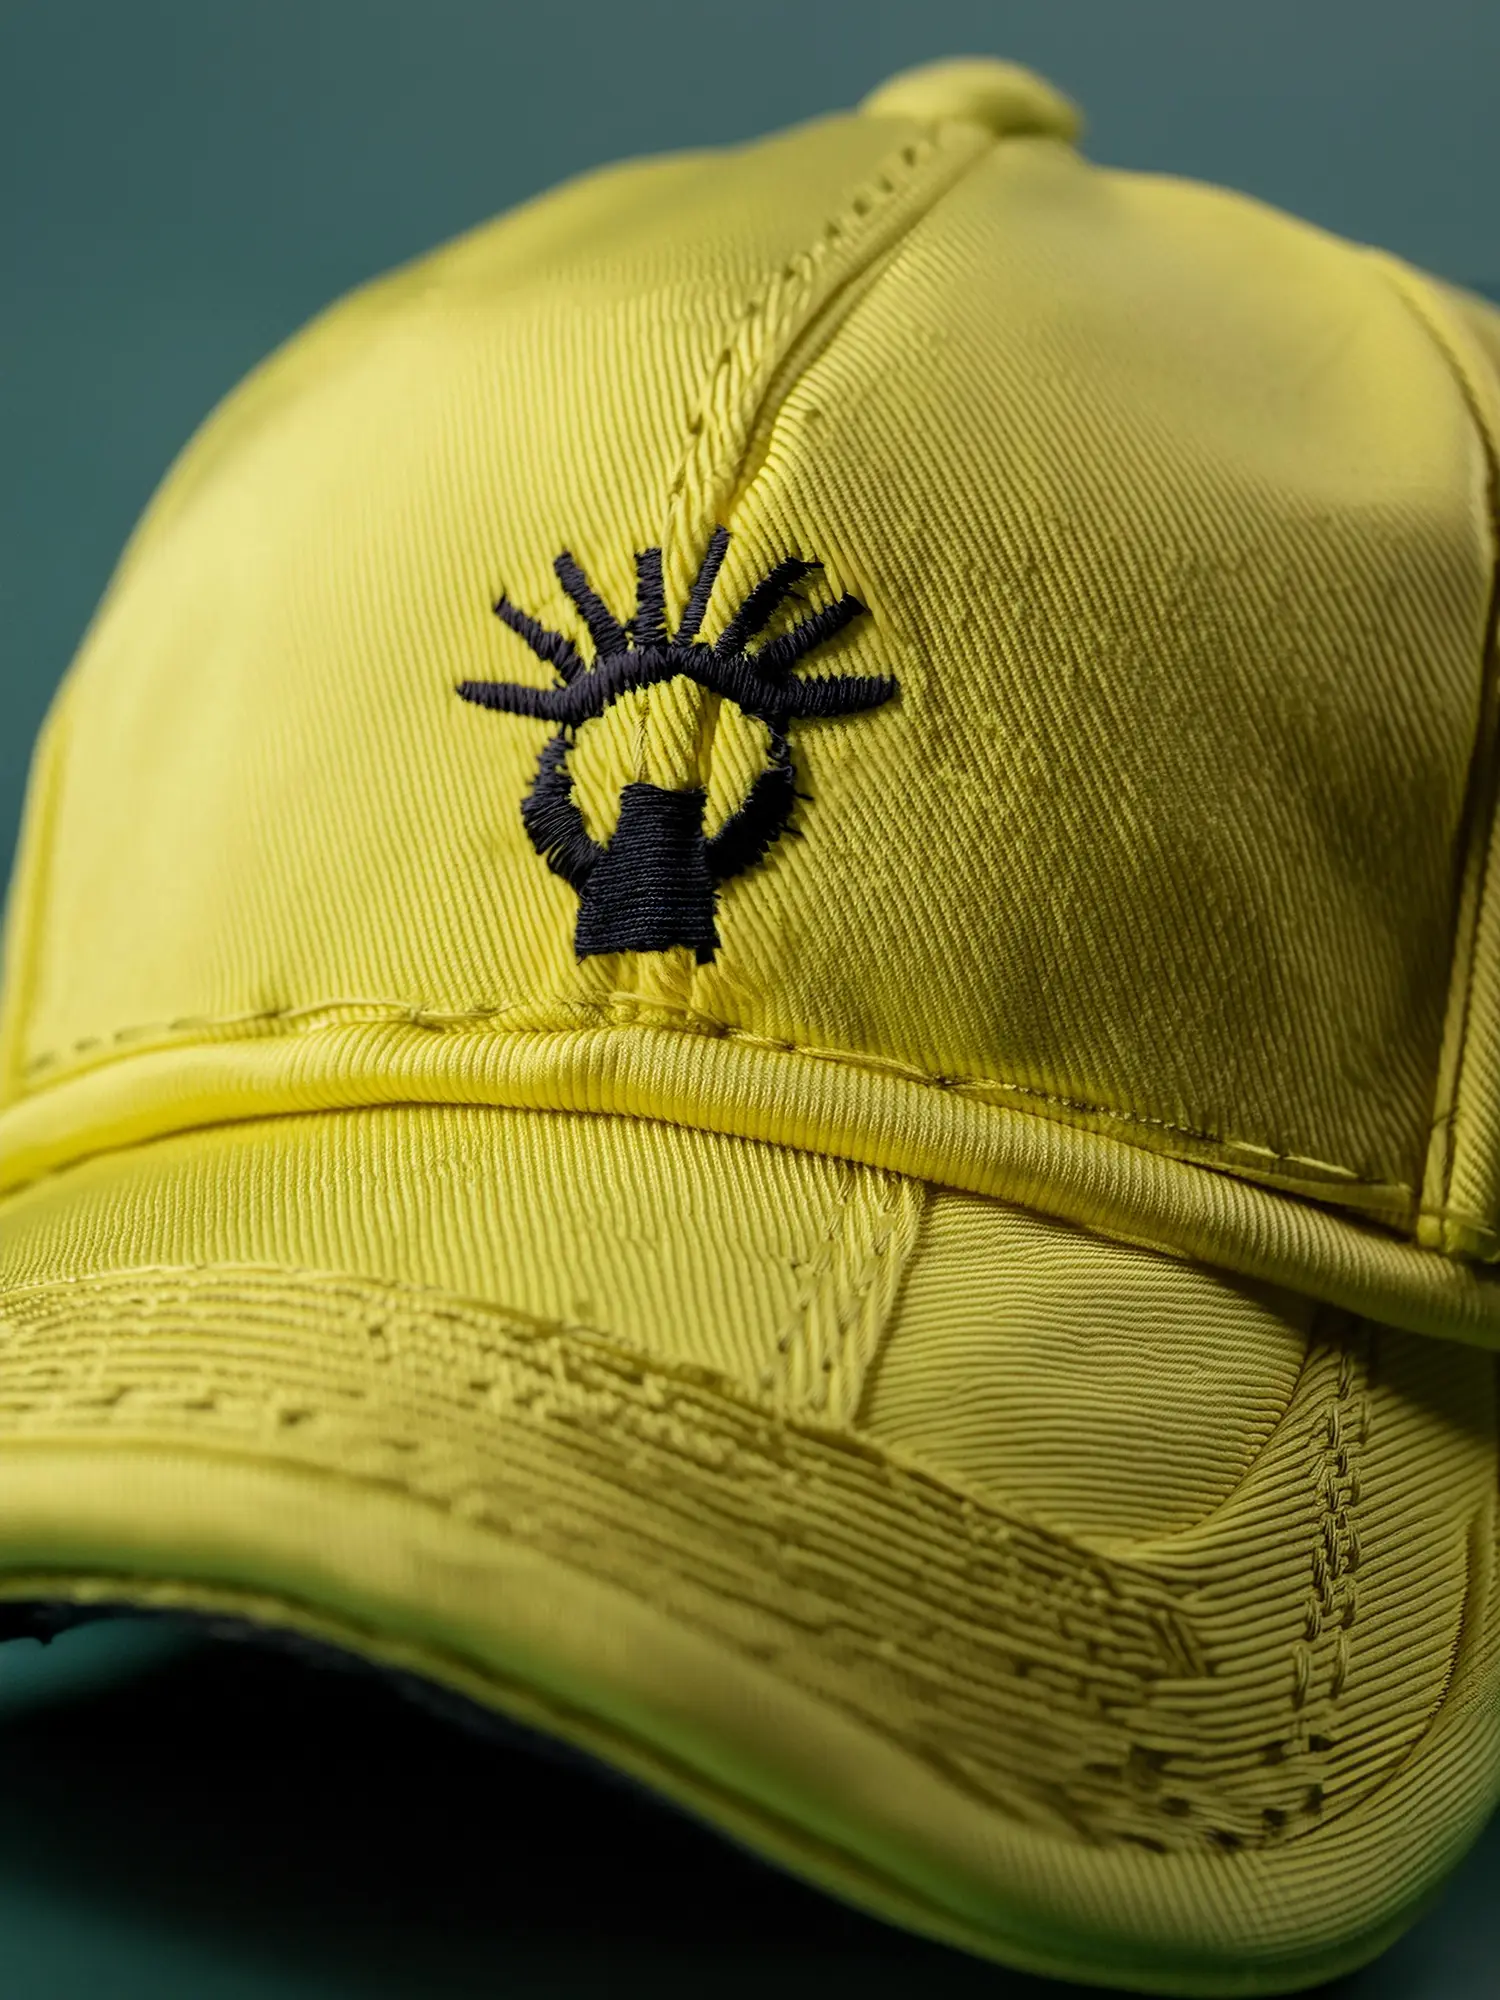
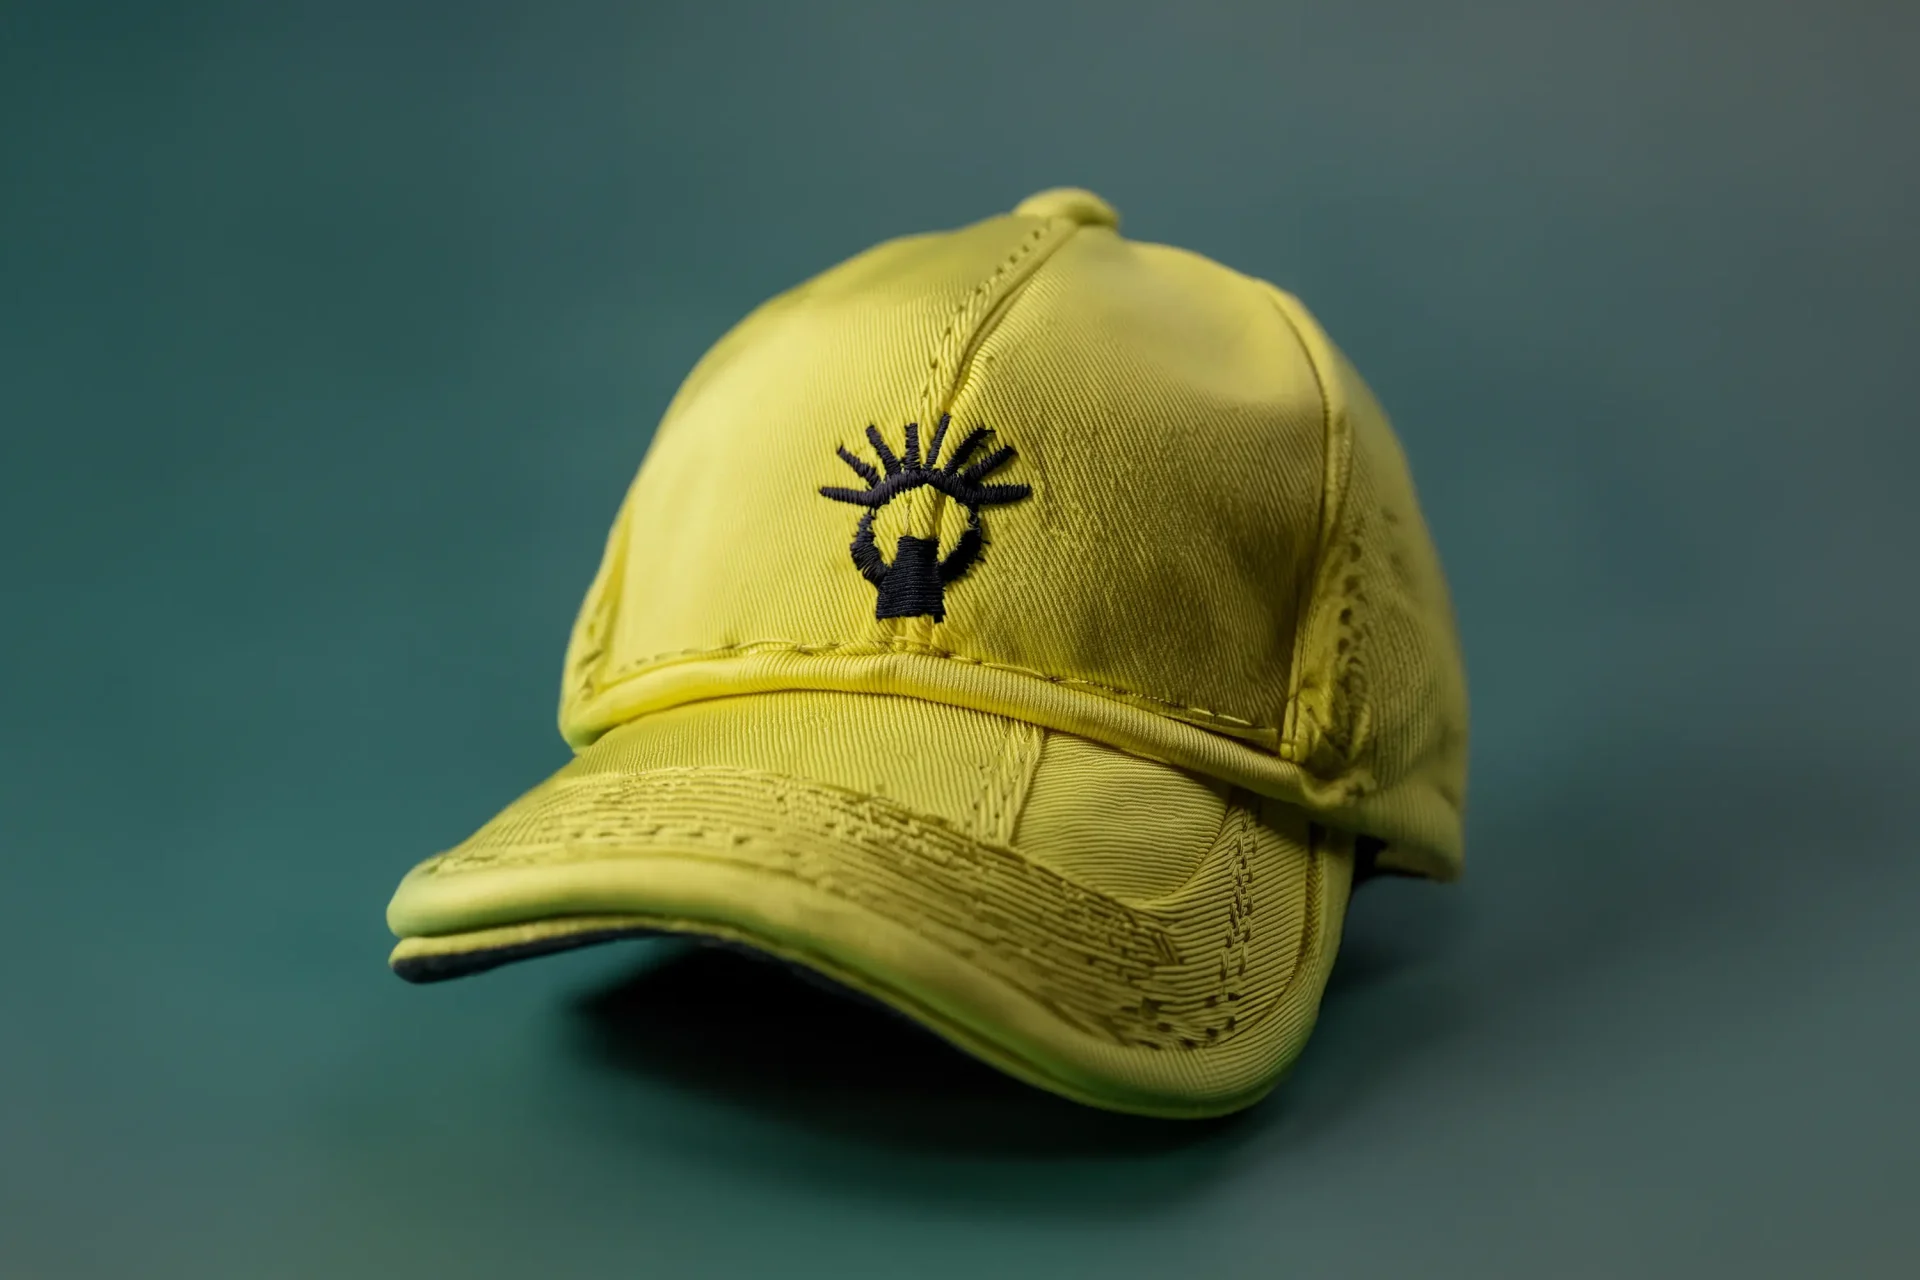
Step 3: Combining Composition and Style Upload Composition and Style References: Use Adobe Firefly. Upload the composition and style references. Use the Composition Description as Prompt: Add ‘hyper-realistic’ and ‘close-up’ to the prompt and generate the final image.